Restoring a classic car is not just about enhancing its performance; it is also about maintaining its authentic charm. Unlike modern vehicles equipped with computerized driving aids, classic cars rely on traditional mechanisms to offer a pure driving experience.
One often-overlooked but essential component in the restoration process is beltline weatherstripping. These strips, also called window sweeps, are responsible for wiping the window as it is raised or lowered. They prevent leaks, reduce noise, and improve insulation, ensuring a more enjoyable ride.
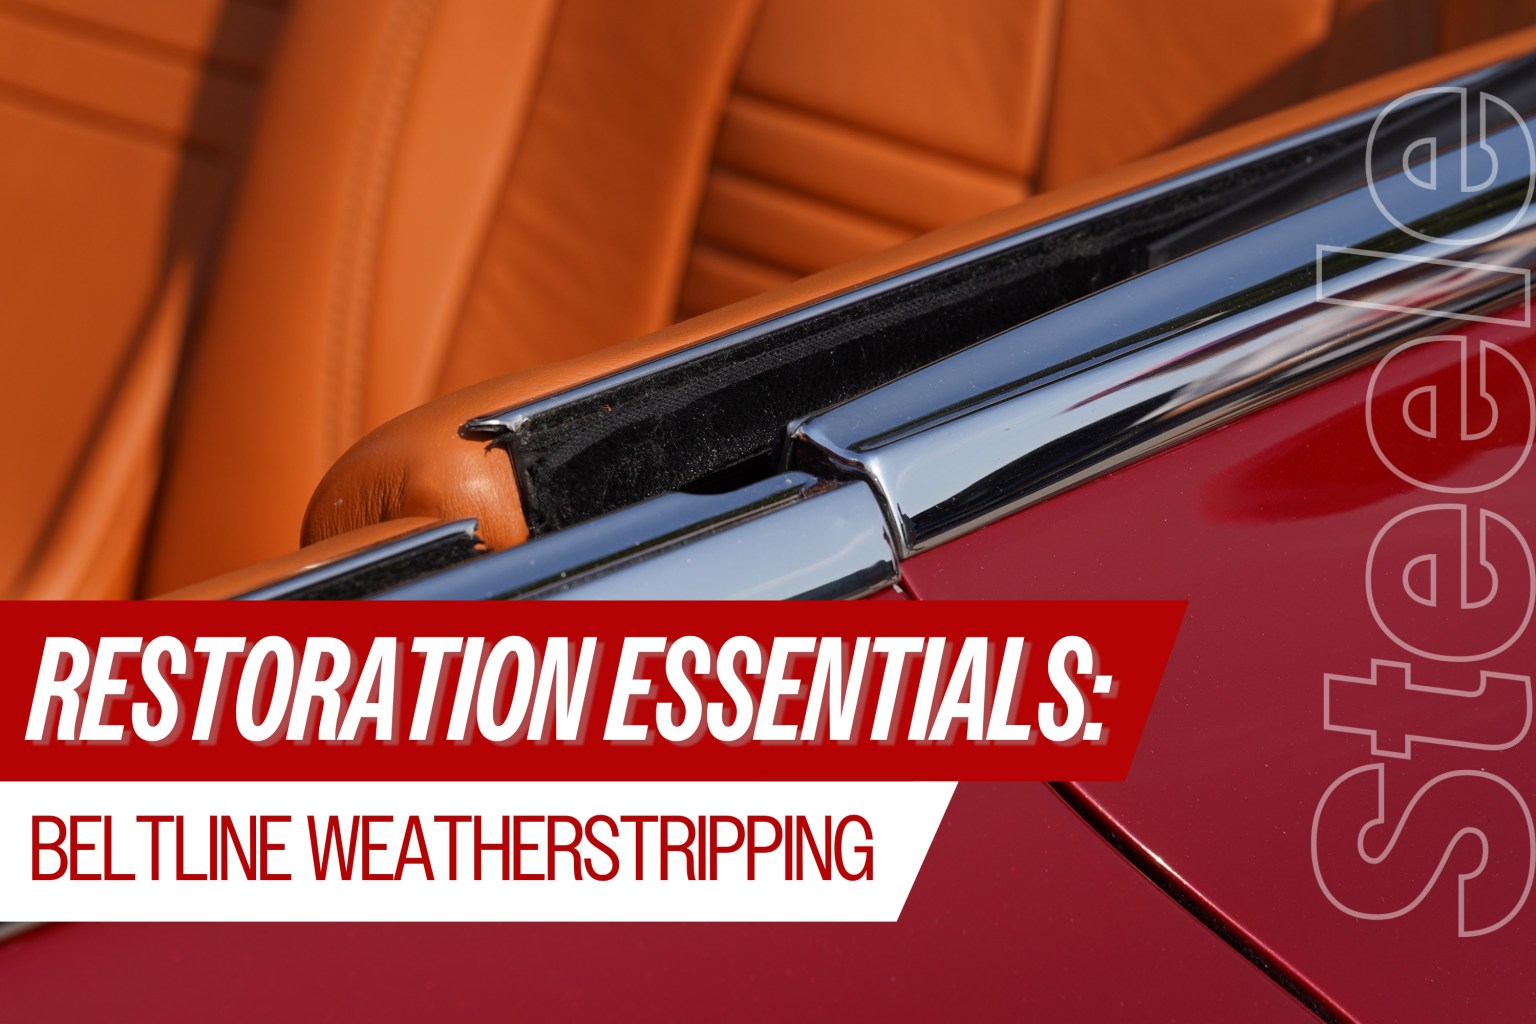
What Is Beltline Weatherstripping?
Beltline weatherstripping consists of both inner and outer strips that seal the gap between the window and door panel. Their primary functions include:
- Preventing water, dirt, and debris from entering the door cavity.
- Protecting against window rattling and vibrations.
- Reducing wind noise for a quieter ride.
- Maintaining interior temperature by improving insulation.
Properly fitted beltline weatherstripping is crucial. Since these components are vehicle-specific, it is recommended to find a match tailored to your classic car’s design. However, for custom vehicles, universal beltline weatherstripping can be modified to fit.
Installation Basics
Although the installation of beltline weatherstripping may seem daunting, following a systematic approach will ensure a successful fit. Here are the primary steps:
Preparation
Start by removing the inner door panel to access the old weatherstripping. Carefully inspect the area for signs of rust, dirt, or debris, and clean it thoroughly. If the existing beltline is cracked or brittle, it is time for a replacement.

Shaping the Beltline
If the new beltline weatherstripping needs adjustment to match the door’s contour, take the following steps:
- Use a cam or plywood template to create the desired curvature.
- Gently bend the material, ensuring the stainless steel bead remains smooth and kink-free.
- Apply consistent and light pressure to shape it properly.
- Use tin snips to trim excess material for a clean finish.

Attachment Methods
There are two primary methods for installing beltline weatherstripping: using adhesive or pre-installed clips.
Adhesive Installation
For vehicles without clip slots, adhesive installation is a viable option. Follow these steps:
- Clean the surface thoroughly to remove dust and oil.
- Apply a thin layer of 3M urethane adhesive along the cleaned surface.
- Use a popsicle stick or similar tool to ensure precision.
- Press the beltline weatherstripping firmly into place and allow it to cure for at least 24 hours.
Clip-Based Installation
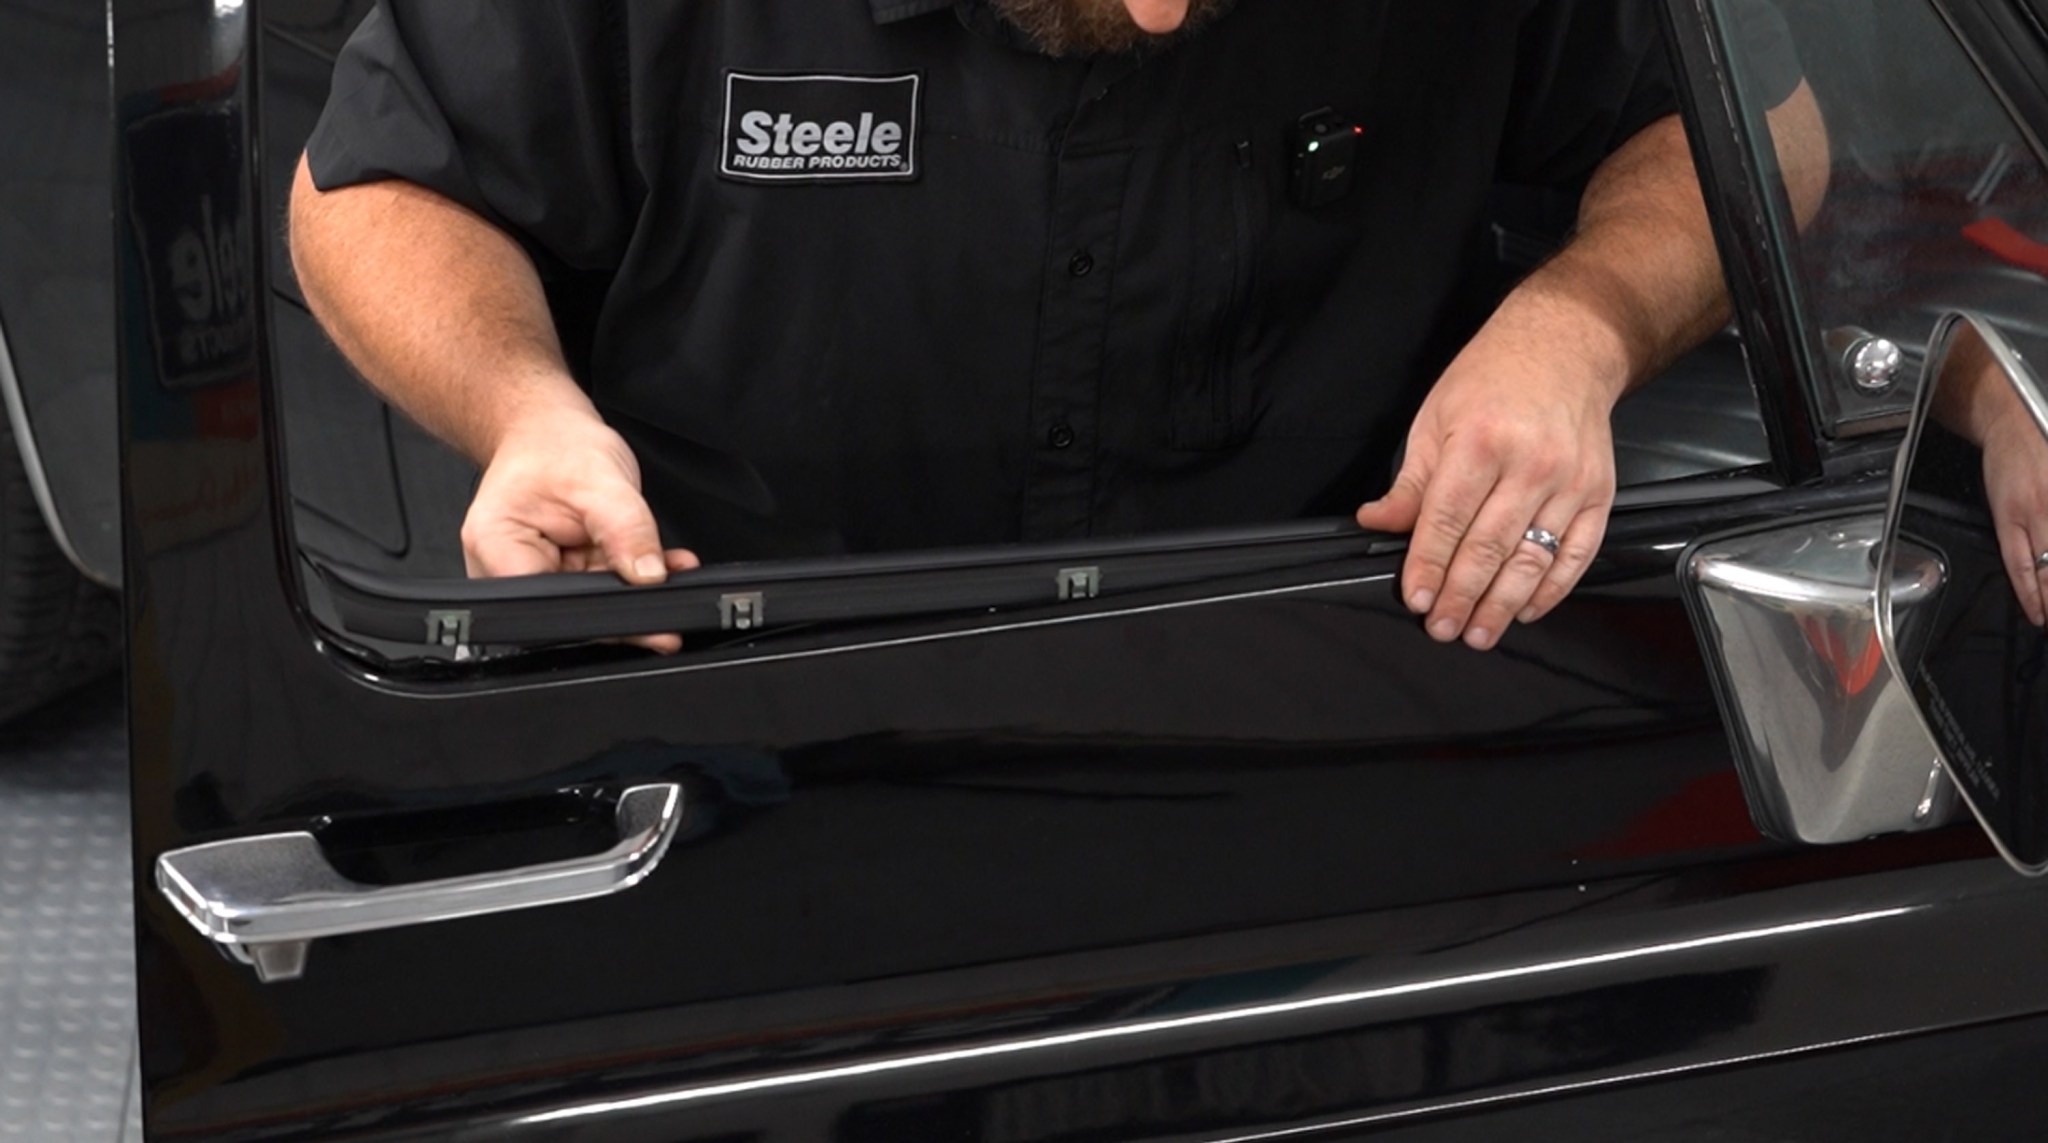
Many classic cars come with pre-drilled holes for clips. If your car has this feature, follow these steps:
- Align the clips on the beltline with the pre-drilled holes on the door.
- Press the beltline strip firmly into place until you hear a “click,” indicating it is securely attached.
- Repeat the process for both the inner and outer strips.

Conclusion
Beltline weatherstripping is a small but crucial component in any classic car restoration. By sealing out unwanted elements and minimizing noise, it ensures a comfortable driving experience while protecting your vehicle’s structural integrity.
Whether you are restoring a vintage vehicle or building a custom car, installing high-quality beltline weatherstripping is an investment that will enhance the longevity and value of your classic automobile.